
High Altitude Wheat Bread
When baking bread at high altitude, you can end up with a loaf that is not fully cooked in the middle or loaves that are hard as bricks! Neither of these are edible, but we do have a recipe for making a wheat bread loaf with some adjustments for our elevation.
This is a simple recipe with just a few ingredients, but there are steps you have to keep an eye on. When you are activating the yeast, you have to make sure it has fully activated before adding it into the recipe. While the dough is rising, you have to watch and make sure the proper size has been achieved before moving on to the next step. With all that in mind, check out the recipe and instructions below:

To start, I took 1 package (1/4 oz or 2 1/4 teaspoons) of Active Dry Yeast - not Rapid Rise or Instant Yeast - and mixed it with 2 Tablespoons warm - not hot, not cold - water. This is where it gets tricky. Yeast is a living thing. If you mix it with water that is too hot, you will kill it. If it’s too cold, it won’t start. By not fully activating the yeast, you will waste a whole bunch of time making a bread loaf that will not turn out as expected.
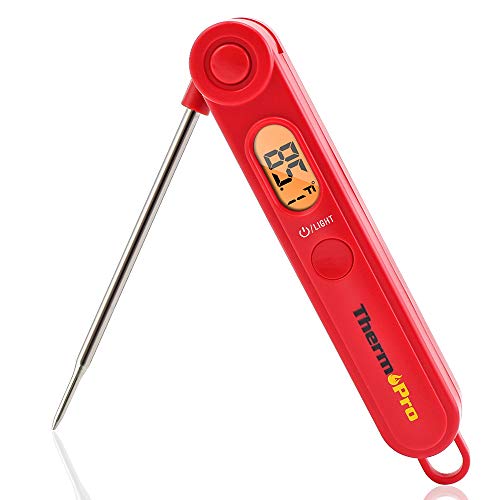
Ideally, you want the water temperature to be between 110°F - 120°F / 43°C - 49°C. It’s a temperature that should not create steam, but be hot to the touch. If you don’t have a thermometer, we suggest getting one. They are versatile and our recommended thermometer is easy to use, is magnetized and attaches to the oven.
Add the yeast and 1 teaspoon sugar to the water at proper temperature and let this work for 5-15 minutes. The length of time varies depending on the temperature in your kitchen, and you will know it’s ready when it is foamy on the top as shown here. This process feeds the yeast and creates a light, high rising bread loaf.


Add the all purpose and wheat flour along with the sugar and salt to the mixing bowl.
Combine the cold milk with the hot water to keep the liquid warm when you add it. Once combined, pour into the bowl with the dry ingredients.
Finally, add the butter and activated yeast.
Mix all the ingredients together for about 30 seconds. You just need to incorporate the wet ingredients into the dry.
Once everything has worked together, the dough is ready to be kneaded. You can do this manually by taking the dough out of the bowl and kneading on a floured surface for 15 minutes, or if you have a mixer with a dough hook attachment, you can let this work for 8 minutes. My KitchenAid stand mixer makes a huge difference in preparing food and I use it for just about everything that needs mixing.
When the dough has been kneaded for the proper length of time, it will be pliable, smooth and elastic. It’s time to let it rest and allow the yeast to do the work.
Keep the dough in a lightly greased bowl, cover and let rise for 1 - 1 1/2 hours. You want to make sure the dough has almost doubled in size, but does not get much larger than this. Over-proofing can cause the bread to collapse during baking and may also result in a sour tasting bread.


To slow down the process, you can cover and place in the refrigerator for 8-10 hours and complete the 2nd rise and bake at a later time. Slower proofing can also result in improved flavor and texture of the bread.
Once your dough has doubled in size, you will need to deflate or punch-down the dough. This process keeps the air bubbles from overstretching, divides and increases the gas pockets in the dough to produce a finer texture of bread, redistributes the yeast to give it new sources of food and evens out the moisture and temperature of the dough.
Take the deflated dough, form into a loaf and place in an lightly oiled loaf pan. Cover with oiled plastic wrap and let rise for 1/2 hour - 45 minutes. If you proofed the loaf at room temperature, the 2nd rise will be half the time as the first. If you had in the refrigerator, go with the longer 45 minutes.


Your loaf should rise as shown above and not be higher than 1” above the loaf pan. You can check the consistency of the dough as follows:
Dough is ready for the oven: When pressing a finger into the side of the dough, the indentation springs back about half way.
Over-proofed dough: When pressing a finger into the side of the dough, the indent remains. For this bread loaf, if that happens, you can deflate again, reshape and set a timer for 20 minutes to check it.
Under-proofed dough: When pressing a finger into the side of the dough, the dough springs back with no indentation. Continue to check until the dough is ready for the oven.
This is ready to go into a 350°F oven for 30 minutes. It is ready when the top is light, golden brown and the internal temperature of the bread is 190°F.

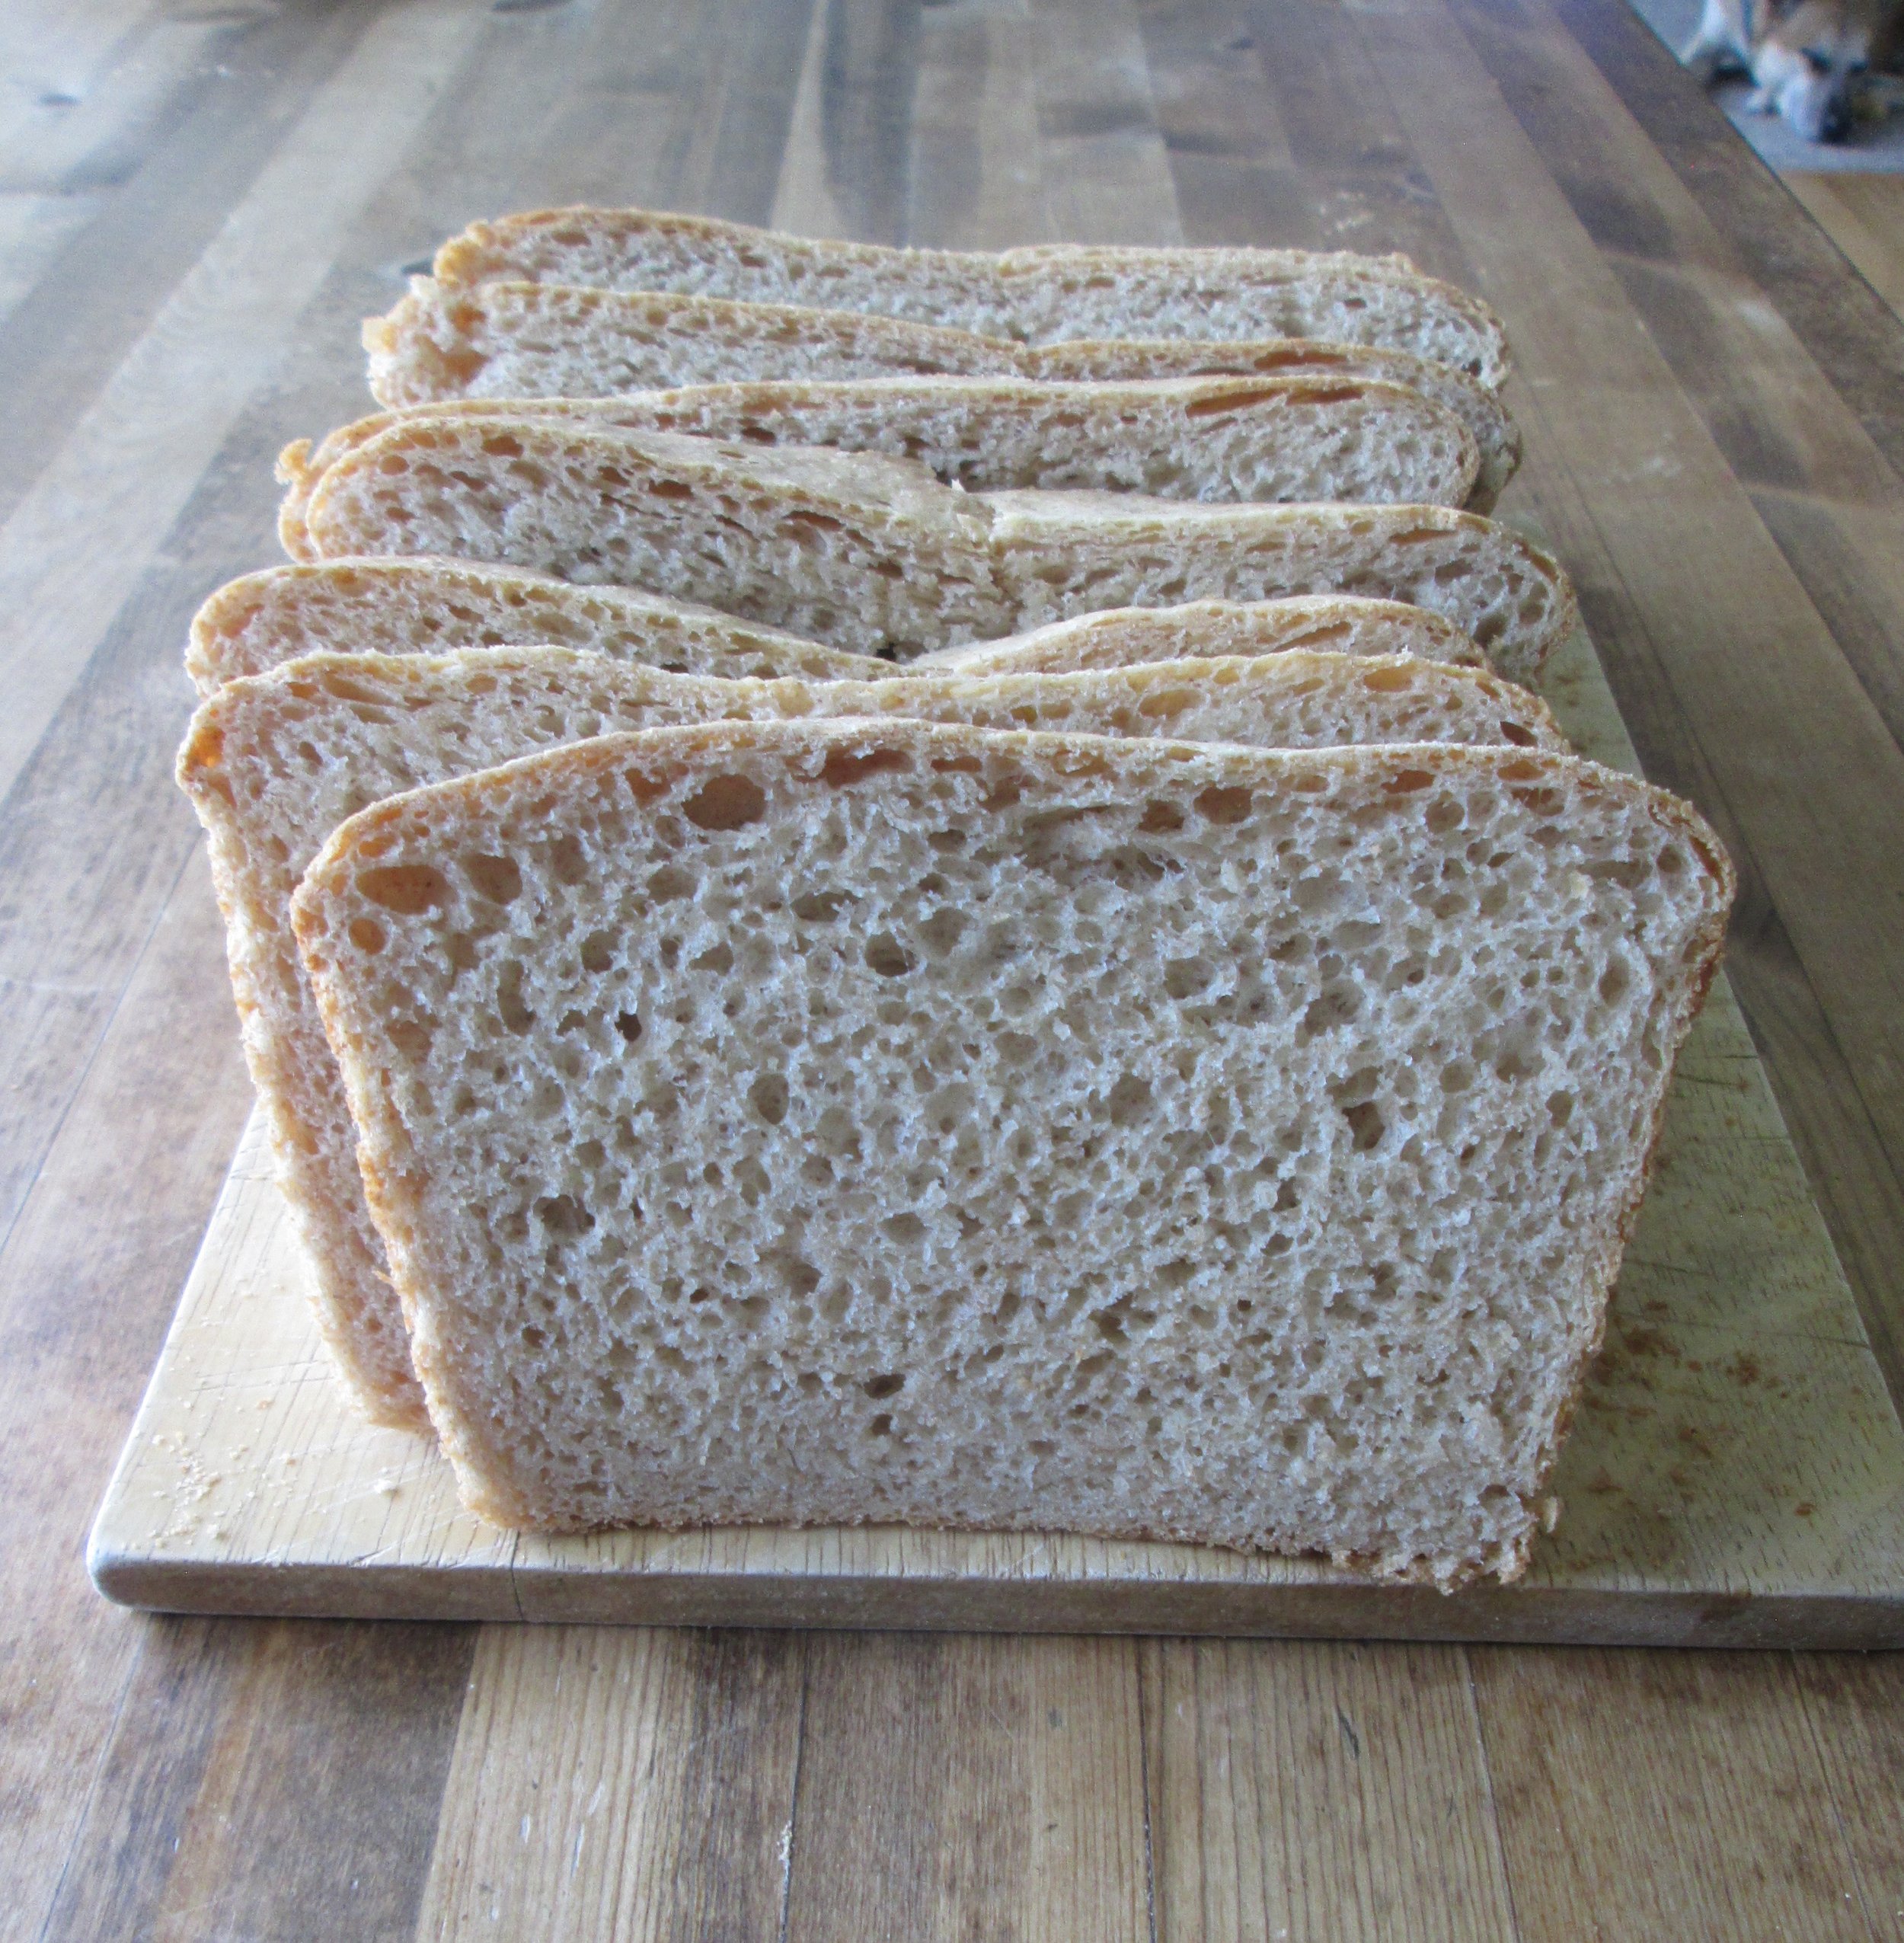
Let it cool and slice. A trick on slicing - turn the loaf upside down and cut the slices from the bottom of the loaf.
Enjoy!
Wheat Bread
PREP TIME: 2 hours 30 minutes COOK TIME: 30-35 minutes SERVINGS: 18
Ingredients
2 cups (250g) all purpose flour1 cup (120g) wheat flour
½ cup (122.5g) milk
¾ cup (177.5g) hot water
¼ cup (57g) melted butter
2 Tablespoon sugar
1¼ teaspoon salt
1 packet active dry yeast dissolved in 1 Tablespoon warm water and 1 teaspoon sugar
Directions
Dissolve 1 packet active dry yeast in 1 Tablespoon warm water and 1 teaspoon sugar. Let this activate for 5-15 minutes.Combine the hot water and the cold milk together so the liquid is warm. Set aside.
Add the all purpose flour and wheat flour into a mixing bowl along with the sugar and salt. Pour the milk and water mixture into the bowl. Finally, add the butter and activated yeast. Briefly mix together just until ingredients have been incorporated.
With a dough hook mixer attachment, knead for 6-8 minutes. If kneading by hand, 15 minutes. Transfer to a lightly greased bowl, cover and allow to rise until puffy and no more than doubled in size. About 1 - 1 1/2 hours depending on elevation and temperature in your kitchen.
Gently deflate and shape the dough into 8" long log. Put the log in a lightly greased 8 ½ - 4 1/2 loaf pan and cover loosely with greased plastic wrap. Allow dough rise for 30-45 minutes (or 1” above the edge of the pan).
Bake at 350°F for 30-35 minutes, until golden brown on top and the center of the bread registers 190°F using a digital thermometer. You can also take the loaf from the oven, turn it upside down, and thump the bottom of the loaf. The bread will sound hollow when it’s done.


Honey wheat bread collapsing at high altitude? This tender honey wheat bread bakes up soft, sturdy, and perfectly risen. Tested at 3,000+ feet with exact adjustments that work.