
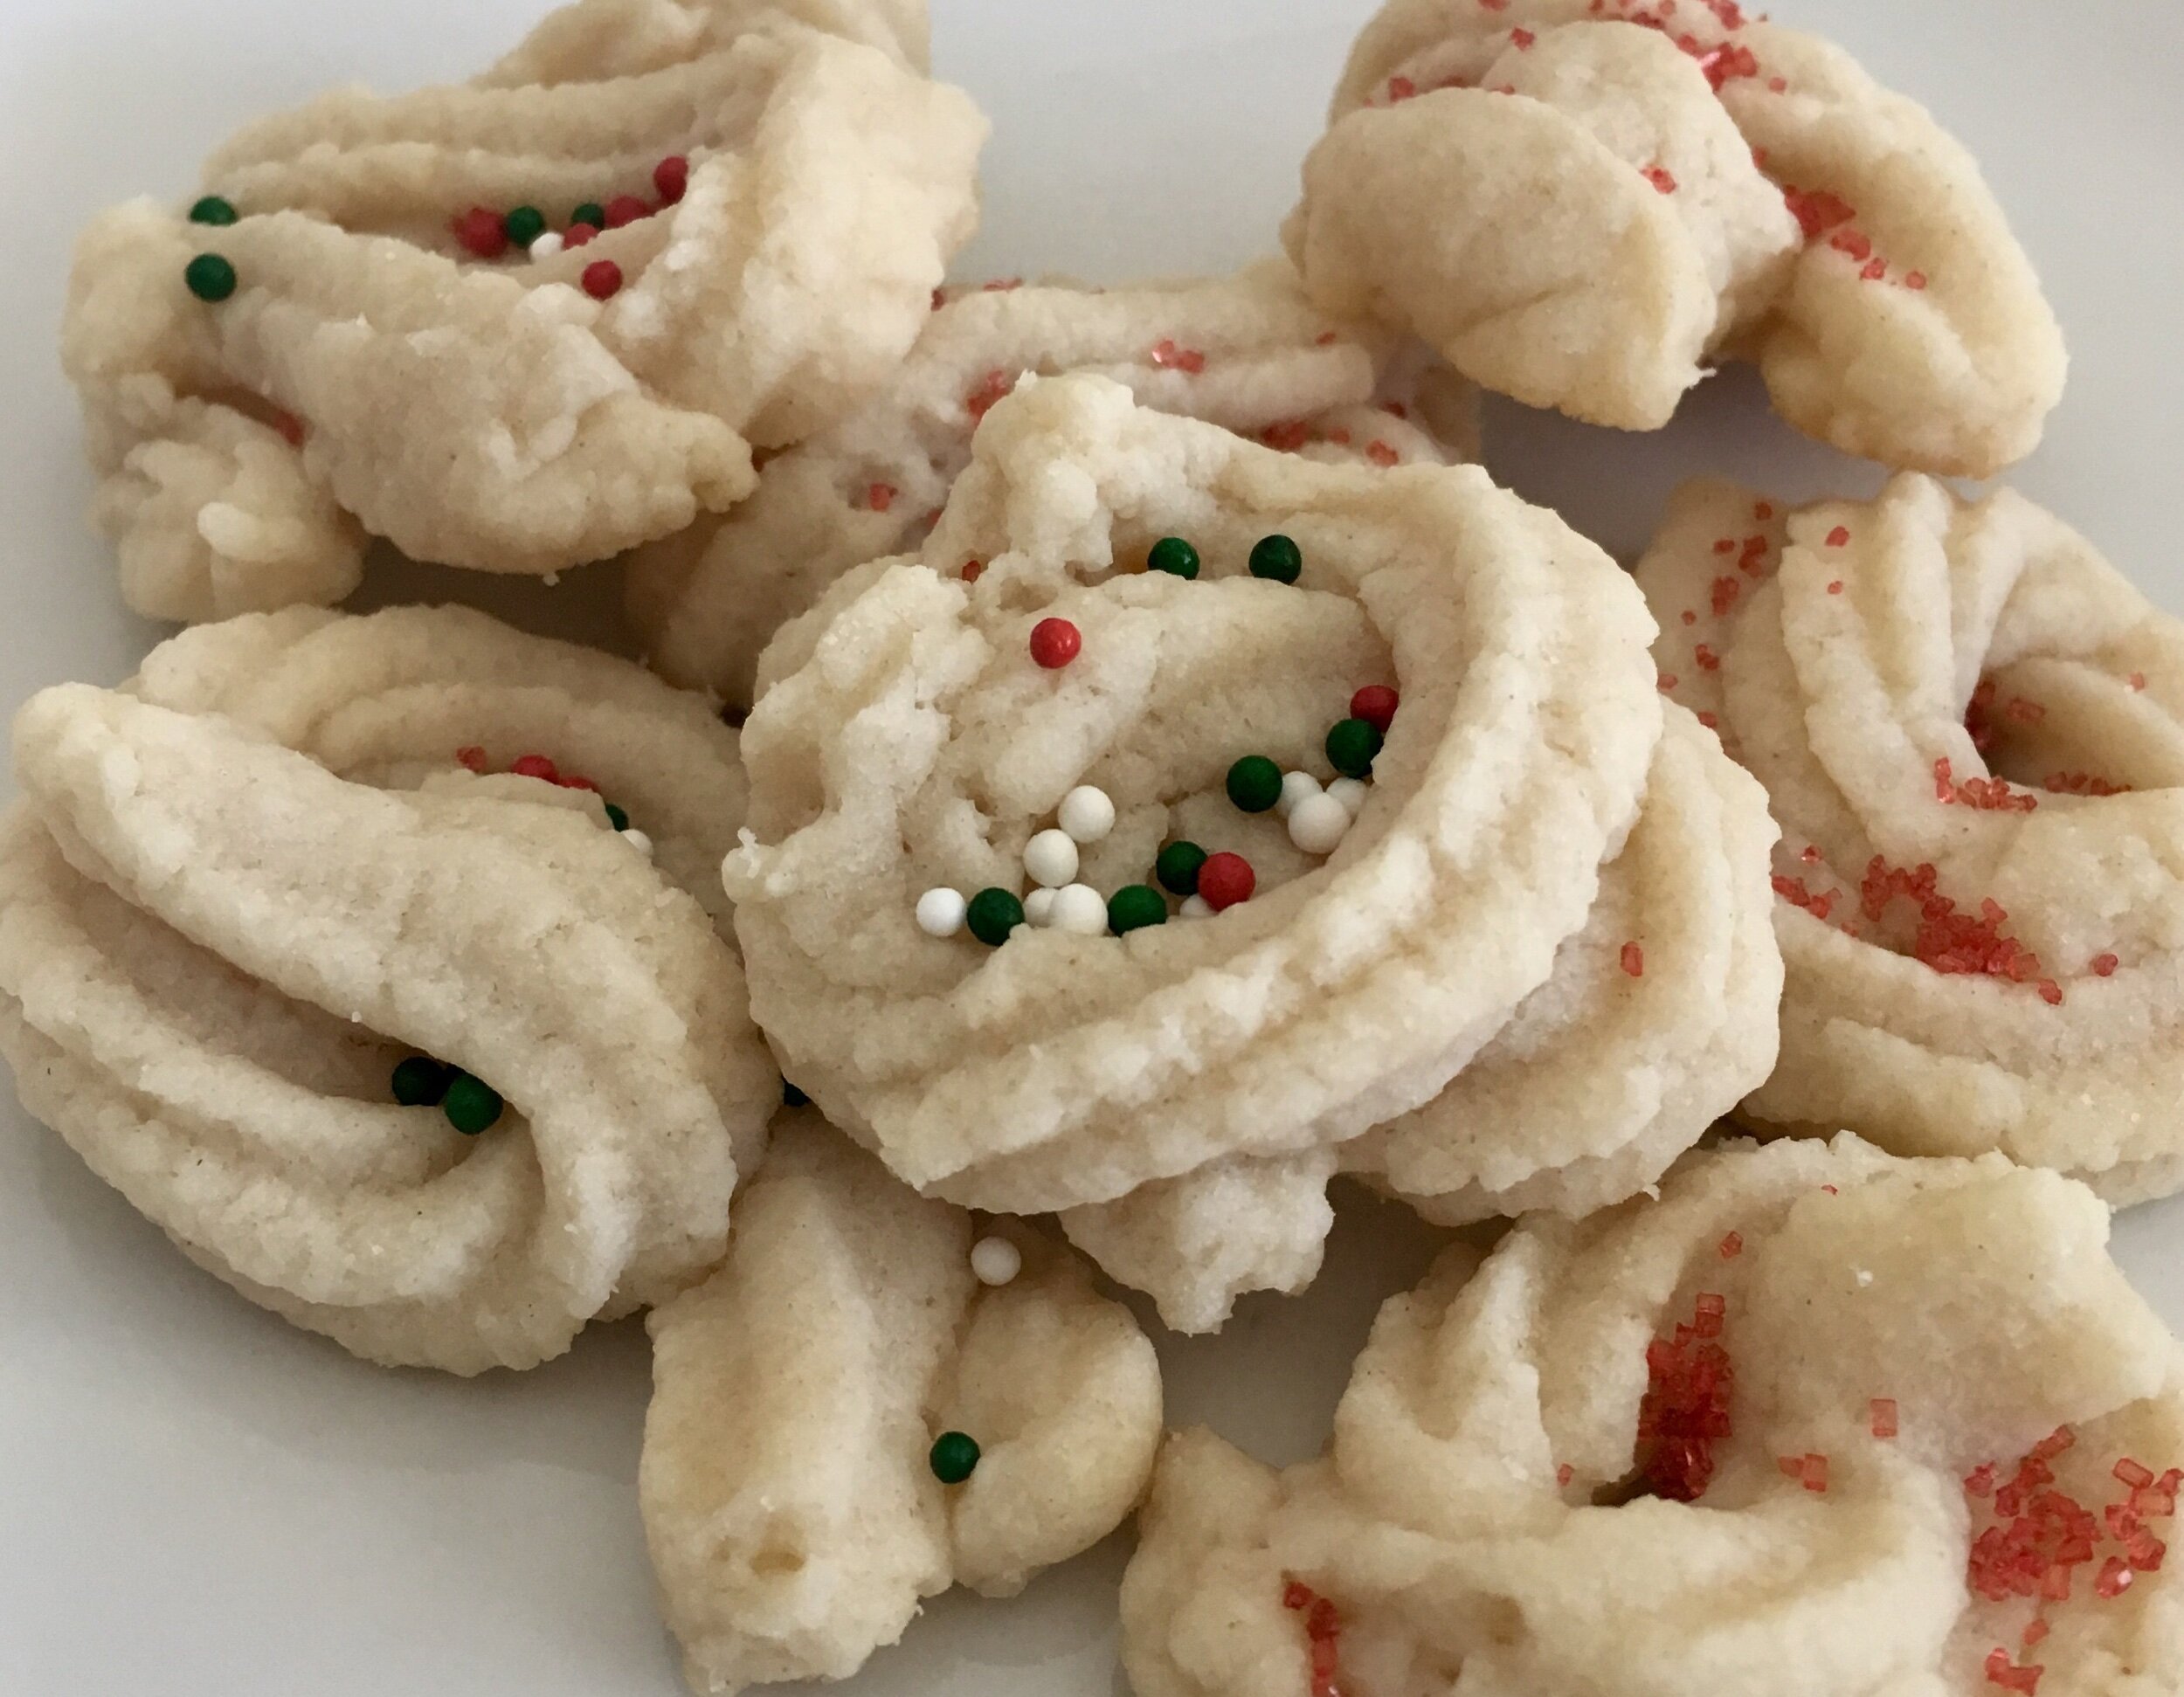
Cream Cheese Butter Cookies
High-Altitude Cream Cheese Butter Cookies
At high altitude, the air incorporated during the creaming of butter and cream cheese expands far more aggressively than it does at sea level. In a delicate cream cheese butter cookie—which relies on a high fat content for its signature melt-in-your-mouth texture—this often results in a dough that puffs up beautifully in the first three minutes of baking, only to collapse into a greasy, thin puddle before they are fully set.
This high-altitude cream cheese butter cookie recipe is designed to control that early rise while preserving the cookie’s soft, pillowy structure, smooth crumb, and decorative shape.
The High-Altitude Science
To get these results, we made three key shifts:
Structural Support: Cream cheese low in protein, but high in moisture and fat. At elevation, we need to provide more support for the cookie. With and increase in flour and a touch of cornstarch, this will ensure the cookie stays soft while maintaining its height.
Chill Factor: In thin air, butter and cream cheese reach their melting point faster. We add a mandatory chill time to ensure the fats don't liquify before the flour has a chance to set.
The Oven Temperature: These are baked at 375°F. This sets the exterior of the cookie, creating an outer shell that prevents the internal air bubbles from over-expanding and inducing a collapse.
PREP TIME: 20 minutes CHILL TIME: 30 minutes COOK TIME: 8-10 minutes SERVINGS: 3 dozen
Ingredients
- 1/2 cup butter, softened
- 3 oz cream cheese
- 1/4 cup sugar
- 1/2 teaspoon vanilla
- 1 cup flour
- 1 Tablespoon cornstarch
- Colored sugar sprinkles
Directions
2. Emulsify : Stir in the vanilla.
3. Whisk Dry Ingredients : In a separate bowl, whisk together the flour, cornstarch, and salt.
4. The Gentle Mix : Gradually add the flour mixture to the wet ingredients. Mix on low until the flour just disappears. The dough should be soft but hold its shape.
5. The Mandatory Chill : Wrap the dough in plastic wrap and chill in the refrigerator for 30 minutes. This allows the flour to hydrate and the fats to firm up, which is essential for preventing spread at altitude.
6. Preheat : Preheat your oven to 375°F (190°C). Line baking sheets with parchment paper.
7. Shape : These are pressed from a cookie press. Put the dough into a cooke press according to manufacturer instructions, and press out onto a cookie sheet.
8. Bake : Bake for 8–10 minutes. The cookies should look set but stay pale; do not wait for them to turn dark brown.
9. Decorate : Sprinkle colored sugar crystals over the top of the cookies.
10. Cool : Let them rest on the sheet for 5 minutes to firm up before moving to a wire rack.
Simply Altitude Pro-Tips
Mixing Speed: Do not whip the batter until it's white and airy. In the mountains, that extra air acts like a propellant that will cause the cookies to expand sideways.
Full-Fat Only: Do not use low-fat and whipped cream cheese. These have higher water content, which will turn to steam and ruin your cookie's structure in high-altitude environments.
Explore More High-Altitude Baking
If you enjoyed this recipe, head over to our High Altitude Baking Made Simple page. It’s our combined resource for mastering the science of elevated baking, featuring helpful adjustment charts and troubleshooting tips for different altitudes.
Looking for more mountain-tested treats? Try these next:
High-Altitude White Cake: The velvet-crumb classic that never sinks.
High-Altitude German Pancake: The "poof" that won't fall flat.
No more greasy, flat cookies! This tested recipe is the key to soft, fluffy cream cheese butter cookies at 3,000+ ft. Why you should skip the baking powder. The creaming trick for stable air. The 375°F heat-set for perfect shapes. The ultimate velvet-soft mountain cookie!
Tired of flat, crispy oatmeal cookies in the mountains? This tested recipe is the key to a jelly filled, thick, soft, and chewy cookie at 3,000+ ft. Why you need to bake at 400°F. Reduced leavening to reduce spread.
Flat, greasy cookies at high altitude? We have a recipe for you..These chocolate chip cookies bake up perfectly soft in the center, are thick and chewy with no dryness or spreading. Tested at 3,000+ feet with easy to follow science-backed adjustments every mountain baker needs.
Rolled sugar cookies spreading into unrecognizable shapes at high altitude? These high altitude rolled sugar cookies hold their shape with soft, moist centers and clean edges —no over-spreading, no crumbly texture. Tested at 3,000+ feet with exact adjustments that work in thin air.
Tired of dry, flat cookies at elevation? This recipe is the answer to soft, chewy peanut butter blossoms at 3,000+ ft. Bake at 375°F. Add moisture with extra milk. Reduce leavening for a sturdy, pillowy shape. A holiday classic, perfected for the mountain altitude!